Chats
Pyrus has a built-in messenger, so you can discuss work and get tasks done in one app. Conversations and tasks stay within your company’s workspace under a single corporate sign-in, with no need to switch to outside services.
Direct and group chats
To open chats, click the chat icon in the left panel.
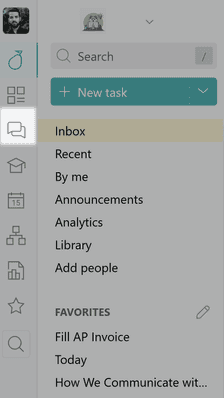
Here you’ll find direct chats for quick one-on-one conversations and group chats — for example, a team or project chat.
You can pin important chats to the top of the list: right-click a chat in the list and select Pin. You can pin up to 20 chats.
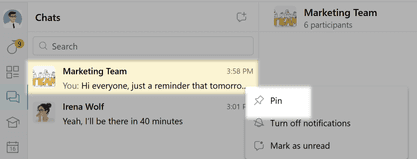
To reorder pinned chats, drag them. Pinned chats are the same on all your devices. To unpin a chat, select Unpin in the same menu.
In the same menu, you can turn off notifications for the chat or mark it as unread — for example, as a reminder to come back to the conversation later.
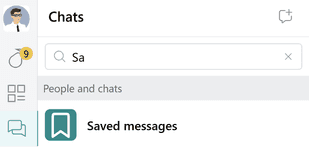
For notes and saved messages, there is the Saved messages chat — your personal chat with yourself. Save important messages, links, and files there. There are several ways to open Saved messages:
- in the chat search, type “Saved messages” or your name;
- when forwarding a message, select Saved messages — it’s always on the list of recipients;
- when creating a new direct chat, select yourself.
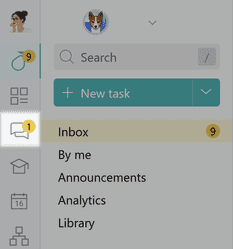
When you get a new message, an unread message counter appears on the chat icon in the left panel.
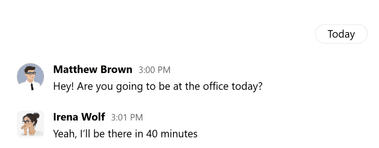
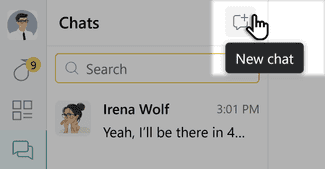
To create a group chat, open the chat tab, click the New chat icon at the top of the chat list, and select Create group.
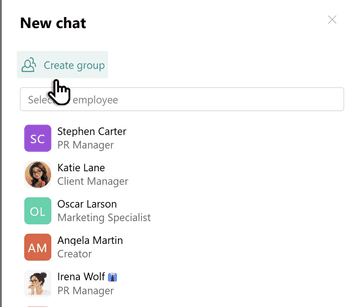
Enter the group name, select participants, and click Create.
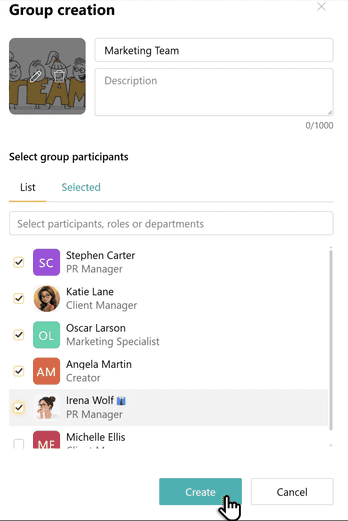
Pyrus Tip: to add a whole team or department in a couple of clicks, select a role or a department from the org chart — all their members will be added to the chat automatically.
People can also join a chat via an invite link.
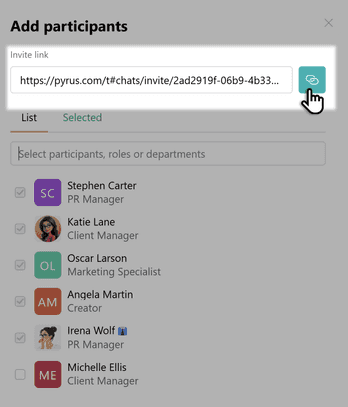
You can also chat with business partners outside your company. Special rules apply to them:
- invite links don’t work for business partners;
- you can message an employee of an independent partner organization if you’ve added each other as business partners;
- in a managed organization, business partners on the managing organization’s side can message all employees of the managed organization.
The same rules apply when adding business partners to group chats.
Messages
The messenger supports text formatting, replies and replies with a quote, forwarding, editing and deleting messages, and reactions.
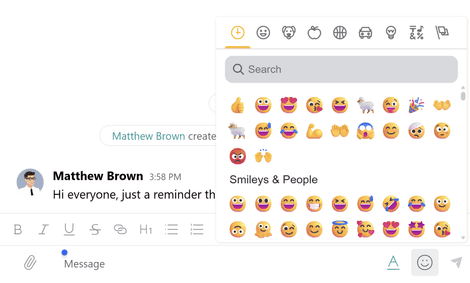
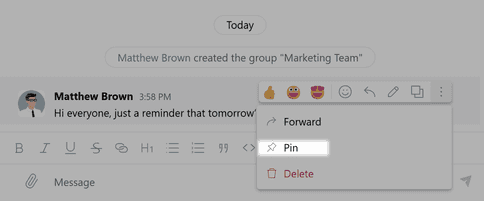
You can pin messages and polls, and send images, videos, and other files to colleagues and partners.
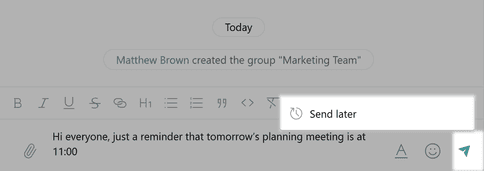
You can prepare a message in advance and send it later: right-click the send arrow and select Send later. Only you can see scheduled messages. Recipients will get them at the scheduled time, even if you’re offline.
If a chat has scheduled messages, a clock icon — Scheduled messages — appears in the message field. Click it to open the list.
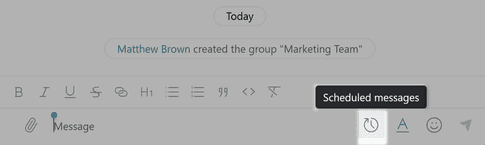
Right-click a message in the list and select an action: Edit, Change time, Send now, or Cancel sending.
To cancel all scheduled messages in the chat, click Cancel all.
Search works across all chats. All media, files, and links from your conversations are collected in one place, so it’s easy to find the document or image you need — just like in the messengers you’re used to.
Permissions and notifications
Group permissions are flexible: participants, administrators, and owners have different roles.
- Owner — can do everything: delete the group, make other participants owners, and change member capabilities. A group always has at least one owner, and the owner is always an employee of the organization where the group was created. An owner can give up this role.
- Administrator — a participant who has been given additional permissions by the owner: changing the chat name, description, and avatar, adding and removing participants, and deleting other people’s messages. A business partner or a role can be an administrator. Restrictions from the general chat settings don’t apply to administrators.
- Participant — has the capabilities enabled for all group participants.
The owner sets general member capabilities in the Manage group window. To open it, click the group name at the top of the chat, then click More → Manage group.
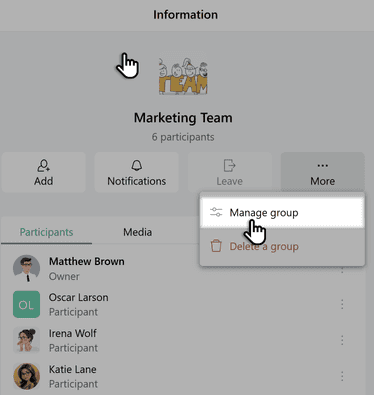
In the Member capabilities section, you can set permissions: send messages, pin and unpin messages, send reactions, and add members.
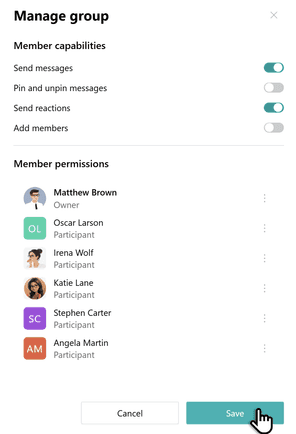
In the Member permissions section, you can change permissions for a specific person — for example, allow a business partner to only read the conversation.
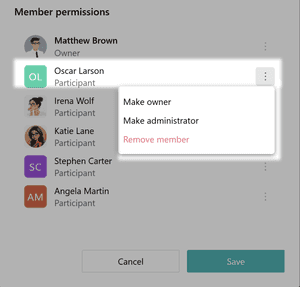
To make a participant an owner or administrator, click the three dots next to their name and select Make owner or Make administrator.
Notifications are set up separately for each chat. You can also turn them off from the chat’s context menu in the list.
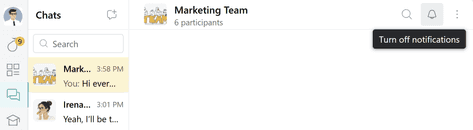
Chat and task notifications are set up separately. In the web version, go to Preferences; in the mobile app, go to Settings. Web and mobile settings are independent of each other.