Lists
Lists make tasks easier to navigate and share by organizing them into groups. For instance, you can create a list of tasks for a specific project, client, or team.
When you delegate a task, it goes to the Tasks list. As this list grows over time, you’ll want to keep it organized — this is exactly what user lists are for. For instance, you can create an Ongoing list for daily recurring tasks, or a Personal list for career development goals or even family commitments. One task can appear in multiple lists simultaneously.
User lists are personal by default. Each user maintains his or her own lists. If a task has several participants and you add it to a list, the participants will still see the task but they won’t have access to your list.
If you share lists with coworkers, they will see all tasks on the list.
Creating a list
Click the “+” in the left-hand menu, enter a name for the list, and press Create list. 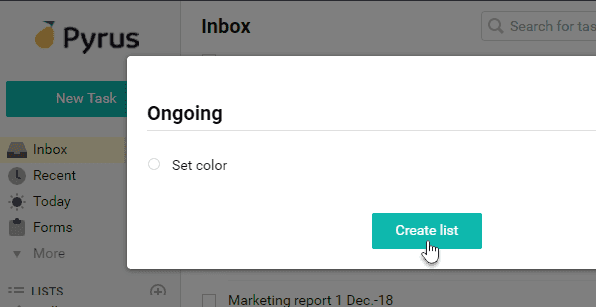
The list will appear in the left-hand menu. Click on it to see the tasks it contains — the new list will be empty, but you can add tasks to it right away.
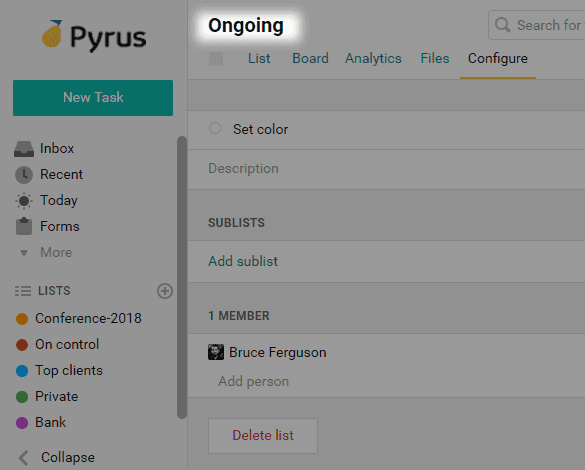
To rename the list, select it in the left menu, go to the Configure tab, and change the name in the title bar. The changes will kick in automatically.
Adding tasks to a list
There are three options for doing this:
- select a list when adding a task
- if the task is already in Pyrus, select the lists in which it will appear on the task page
- drag the task from another list, e.g. from Inbox
When adding a task
Click List name on the task-adding page and select the lists you need in the dropdown menu. If you have multiple lists and it’s hard to find the one you need, start typing its name and Pyrus will quickly show you the matches.
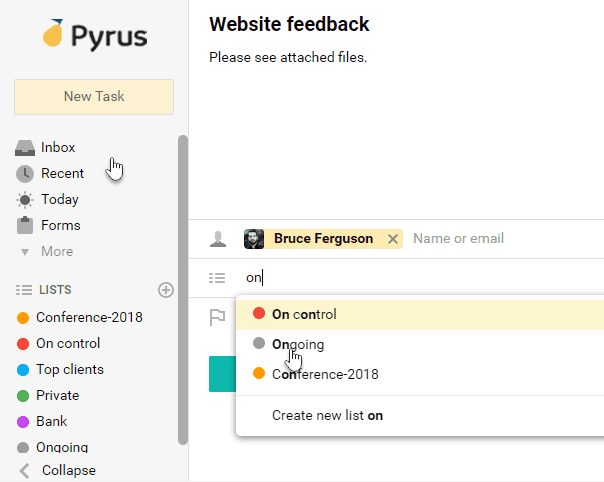
Pyrus Tip: You can create a new list directly from the dropdown menu. Type its full name and click Create new list.
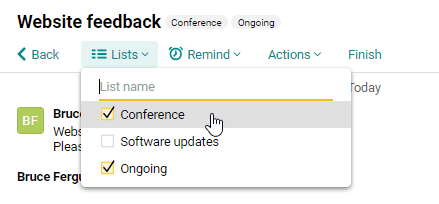
On the task page
Open a task and expand the Lists section of the top menu. As you enter the name of the list, Pyrus will offer potential matches. If there is no such list yet, enter its full name and click Create New List. The task will automatically be added to it.
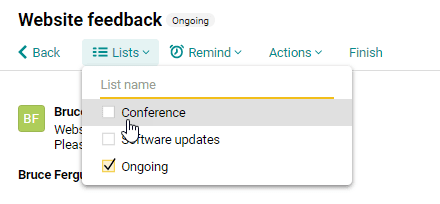
To remove a task from a list, just clear its checkbox in the Lists section of the top menu.
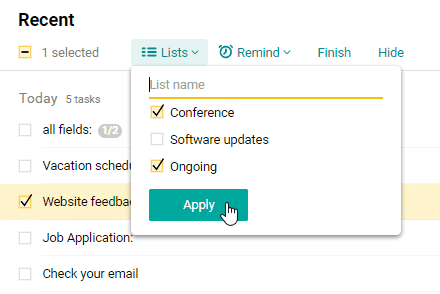
From another list
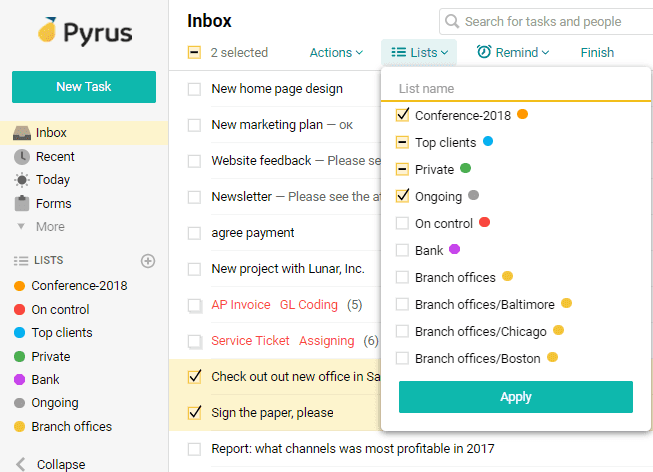
Select a task and open Lists in the top menu. Check the boxes for the lists you want the task to appear on, then click Apply.
Alternatively, you can drag the task to a new list. The task will appear on the new list while remaining on the current list. 
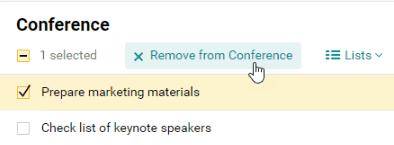
To remove a task from a list, select it and click Remove from…
Sharing a list
A list can only be seen by its creator, but the creator can share it with a coworker. If you give someone access to your list, he or she will see the tasks it contains. This will come in handy when you want to invite a new member to the team, give somebody access to a project, or hand a client over to a new manager.
To share a list, select it in the left menu and go to the Configure tab. Click Add person and choose a coworker from the dropdown list.
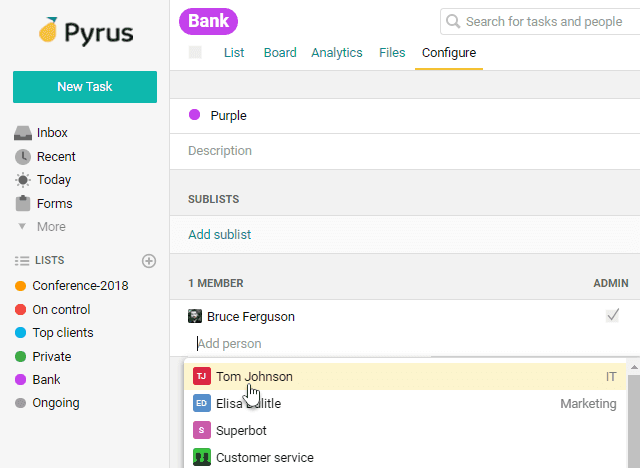
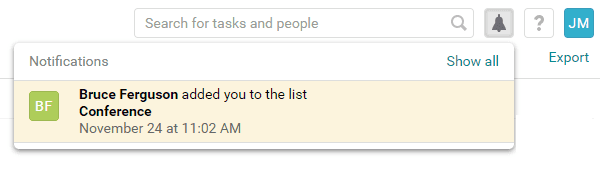
This person will receive a notification, after which he or she can embed the list in the left panel for quick access.
Note: When you share a list with a coworker, that person gets access to all tasks on the list, even if he or she isn’t an assignee or an approver.
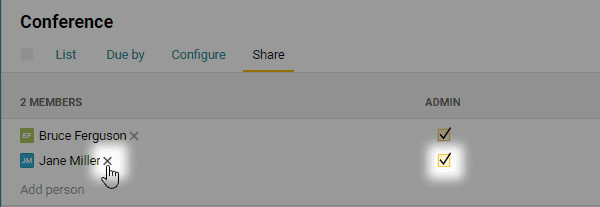
If you want to give a coworker privileged rights to a list, check the Admin box opposite his or her name. Administrators can add and remove participants, create sublists, change list names and colors, and delete lists entirely.
To remove a coworker from a list, press the “x” near his or her name.
List appearance
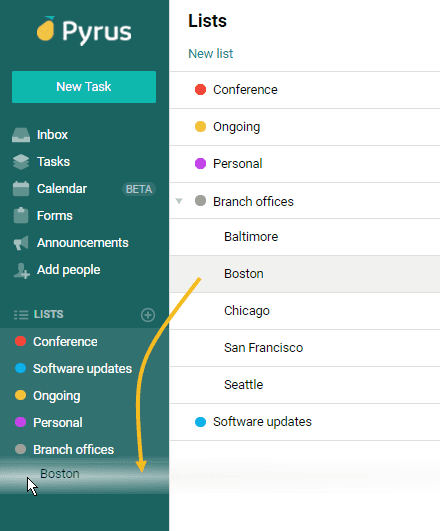
You can access all of your lists from the left-hand menu. You can change your list display order simply by dragging and dropping. You can also remove a list from the left-hand panel by dragging it to the trashcan area on the right.

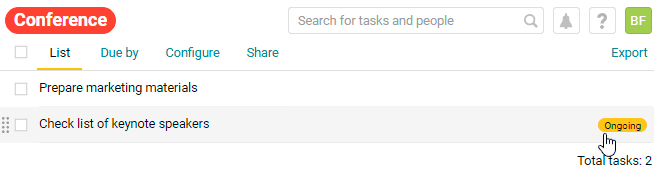
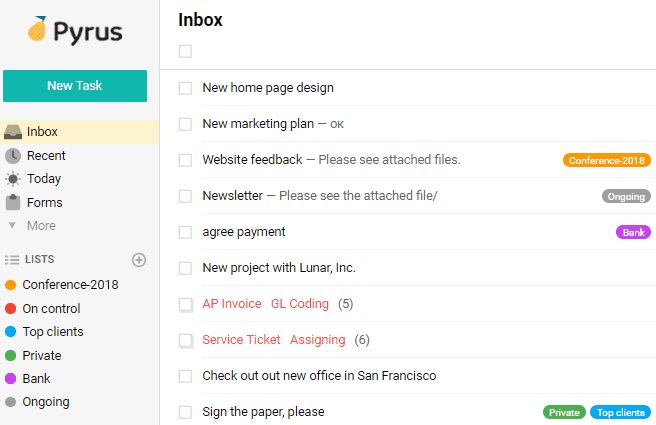
Click a list in the left-hand menu and you’ll see the tasks it contains. Tasks display all the other lists they appear on as tags next to their names. If you click on a tag, the corresponding list will open.
User lists are arranged in a manner similar to the Inbox:
- the row color refers to the current task status: overdue, archived, or due today.
- if you select several tasks, their available batch operations will be displayed in the top menu To better navigate your lists, tag each one with a color. The colors show which list a task belongs to.
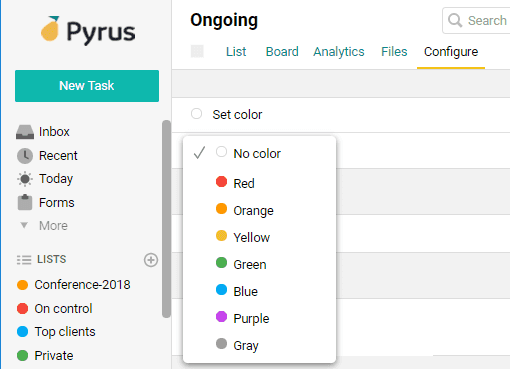
You can set a color when creating a list or by configuring it on the list page in the Configure tab.
To add a color while creating a new list, select Set color and choose an option from the dropdown menu.
To add a color to a list after it has already been created, select it from the left-hand menu, open the Configure tab, click Set color, and choose an appropriate color from the dropdown menu.
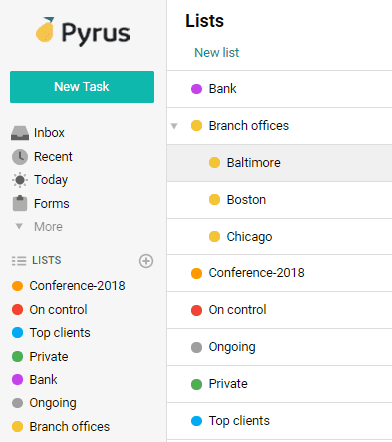
Enclosed lists
Enclosed lists, also called sublists, are practical when you need to combine several lists into one, like lists of clients, projects, or sales prospects.
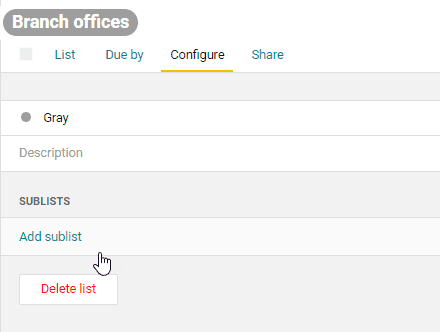
To create a sublist, open Configure and click Add sublist.
Once you’ve added your sublists, press Save.

If you want to display your sublists in the left-hand menu, open all sublists and drag the ones you need to the left.
Bulk operations in lists
You can add or remove a list’s tasks both individually and in bulk.
To add several tasks to the list at once, check them in the Lists dropdown menu, then click Apply. You can always select tasks and modify the lists that include them later. To do that, just select the checkboxes next to the names of the desired lists.
To remove a batch of tasks from the list, select them in the top menu and click Remove from... 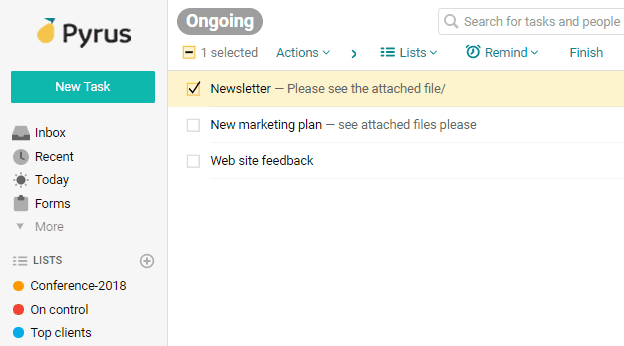
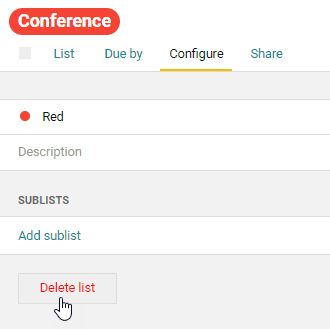
Deleting a list
Select a list in the left menu, go to the Configure tab, and click Delete List. You will only delete the grouping of tasks — all the tasks from the deleted list will remain in Pyrus.