Catalogs
Catalogs let you to use single- and multi-column lists in forms like sales catalogs, vendor directories, or helpdesk categories. You can create them in Pyrus or upload them from another program.
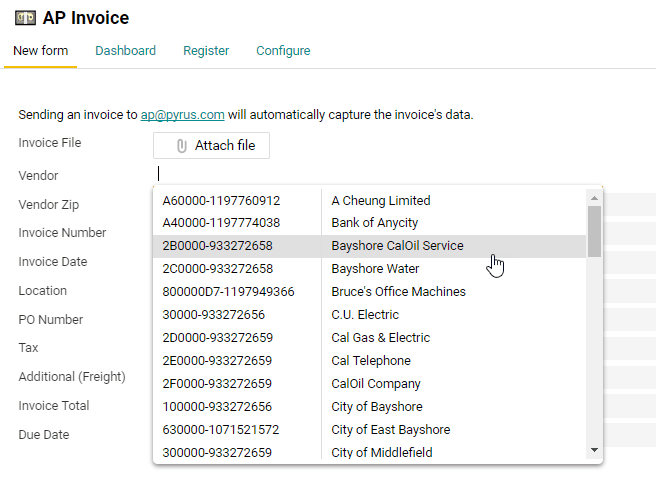
You don’t have to fill out Catalog fields by hand. Just open the dropdown list and choose an item, like a vendor and corresponding ID number.
Automatic updates are an important catalogs feature. Create a catalog in Pyrus using data from an external source like your sales or accounting software, an Excel spreadsheet, an SQL-compatible database, or your CRM system. Turn on synchronization and Pyrus will automatically update the data.
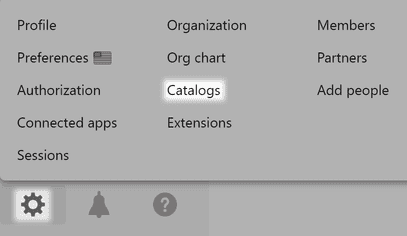
You can create, delete, and edit uploaded catalogs in the Catalogs section.
Creating and editing catalogs
There are a few ways to add a catalog to Pyrus. It depends on where your data is stored.
Manual input
Creating a catalog by hand is convenient when you need a single-column list, like helpdesk categories or a list of vacancies.
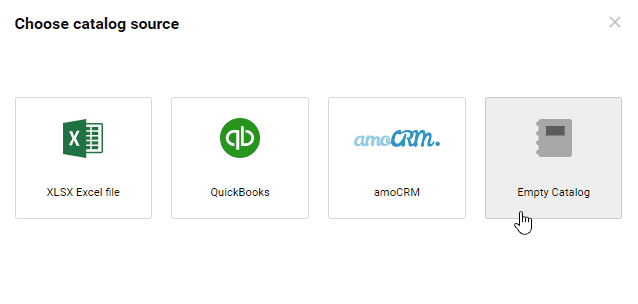
Click Add catalog on the Catalog page, then choose Empty Catalog.
Type in a catalog name and click Create.

Go to the Edit tab to add, modify, or delete elements. You can also change their order by dragging and dropping.
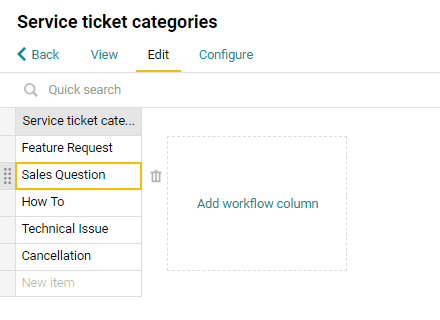
If a catalog has multiple items, filter them to find the item you need. Start typing a name in Quick search and Pyrus will show you the matches.
If you already have the list in Excel, upload it to the catalog so that you don’t have to type in the data.
Note: You can add up to 50,000 items to a catalog.
Uploading data from Excel
This method is convenient when you need to add a multi-column list in Pyrus, such as a list of vendors with their ID numbers, or general ledger items with their respective codes.
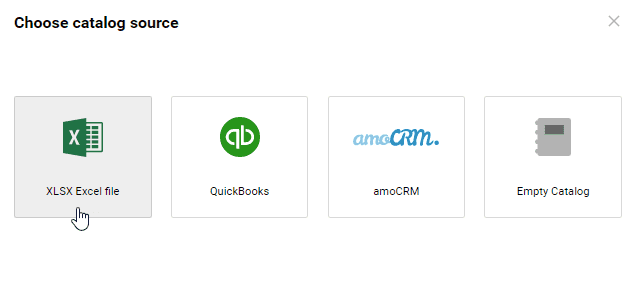
Click Add catalog on the Catalog page, then choose XLSX Excel File.
Upload the Excel spreadsheet containing the data for your new catalog. Pyrus will read the contents of the file and show you what the catalog will look like. Click Sync.
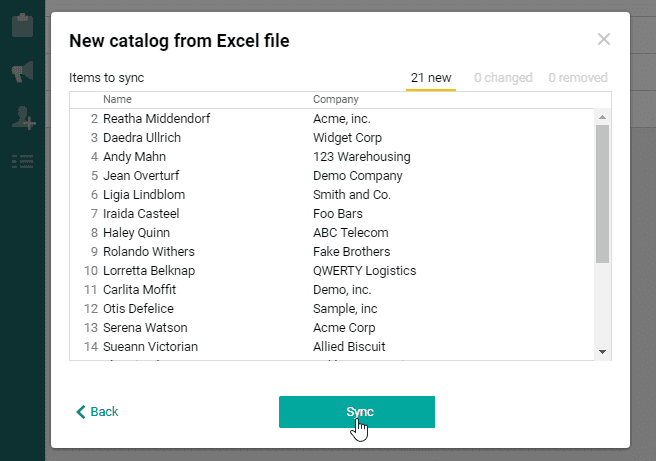
Note: Only the content of the first sheet will be uploaded. To upload data from other sheets, copy them to the first one.
Just like working with single-column catalogs, you can use the Edit tab to add a workflow column, modify the catalog items, add or delete rows, and change their order.
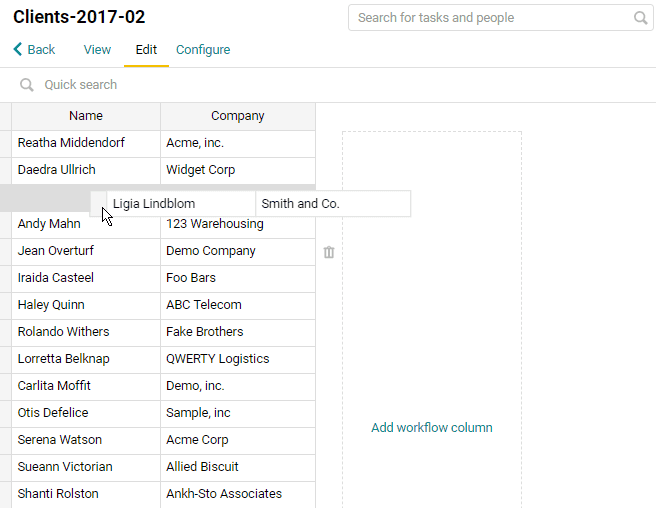
Note: when filling out a workflow column with your employees’ names, use emails or IDs for users with the same name.
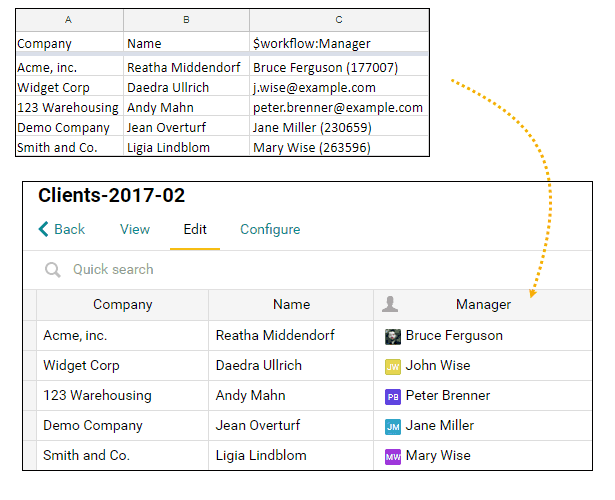
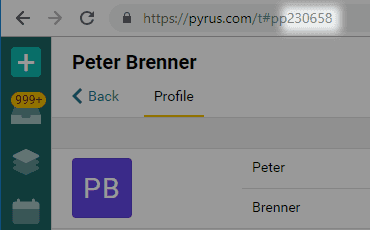
You can find users’ IDs in the address bar on their profile page.
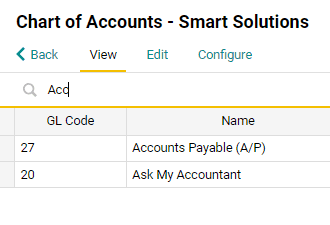
To find a specific item, start typing its name in the Quick search field.
Pyrus Sync
The Pyrus Sync app lets you use existing data from accounting, warehouse management, finance, ERP, and CRM systems, as well as from Excel spreadsheets and SQL-compatible databases. If you turn on synchronization, the data will automatically update whenever you change the source. You can read more about that in Synchronizing catalogs.
Catalog updates
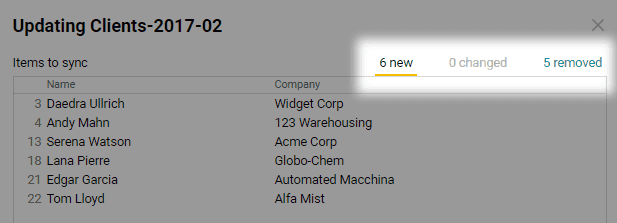
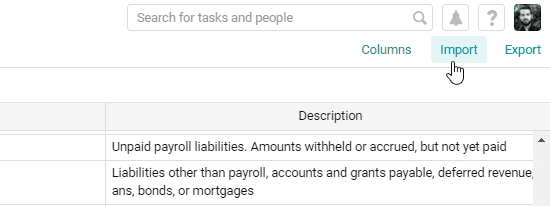
If the changes are minor (a few items have been altered or a new row has been added), you can manually modify the catalog in the catalog editor. If there are many changes, it’s better to re-upload the file. To do this, click Import and upload the updated Excel spreadsheet. Switch between the new, changed, and removed tabs to see the changes made to the catalog.
How a catalog is updated
Pyrus compares an Excel file with a catalog by the values from the first column. In the example above, it’s the Name column.
- If there is a line with the same key in both the uploaded file and the catalog, it will be updated in the catalog.
- If the line from the source file isn’t found in the catalog, it will be added to the catalog.
- If the line from the catalog isn’t found in the uploaded file, it will be removed from the catalog.
What happens to a request if a catalog element is removed?
- Pyrus keeps historical data. Deleted elements are still displayed in requests if they were selected before the update.
- You can’t filter register by removed elements.
- You will see all historical data on the dashboard. From the dashboard you can open the filtered registry and batch edit request fields. Note: after editing, all closed requests will be reopened.
Pyrus Tip: if you use Pyrus Sync, you can completely avoid updating the catalog manually or uploading the Excel spreadsheet after every change. The catalog will automatically update whenever the source file is changed. More on synchronizing with Excel spreadsheets.
Data display modes
Depending on the content, some catalogs are easier to understand as a table. Other catalogs are better as a tree with a clear data hierarchy. Both options are available in Pyrus.
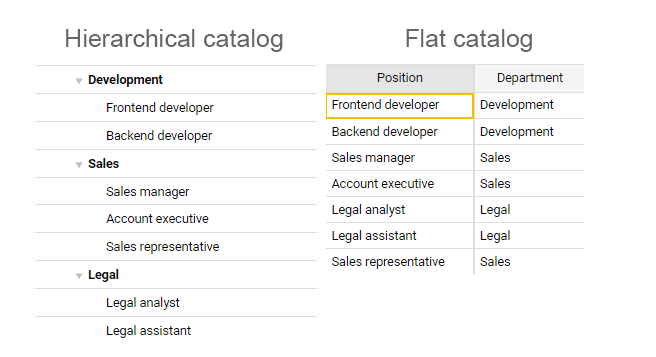
Suppose you choose a hierarchical layout. From now on, whenever you fill out a form containing this catalog, all you’ll need to do is open up a category and select the necessary item.
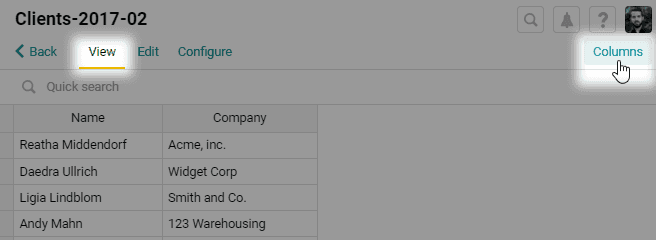
To set a display mode, go to the View tab and open Columns. Unlike the Edit tab, here you modify the catalog’s columns instead of its rows. You can change their position, hide them, or group them.
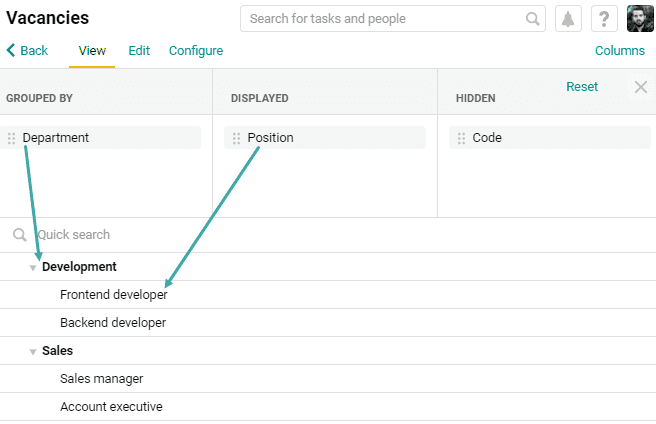
Pick a column name and drag it to the Grouped by field. This will be the main column of your hierarchical catalog, and it will be the first column you’ll see when you open the catalog in a form.
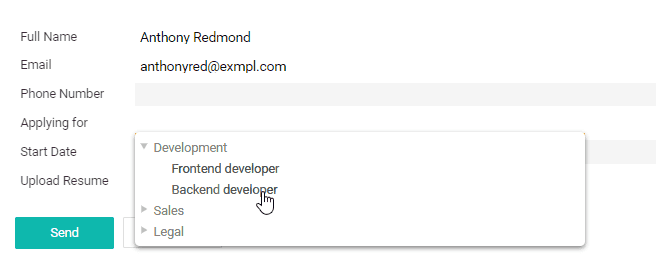
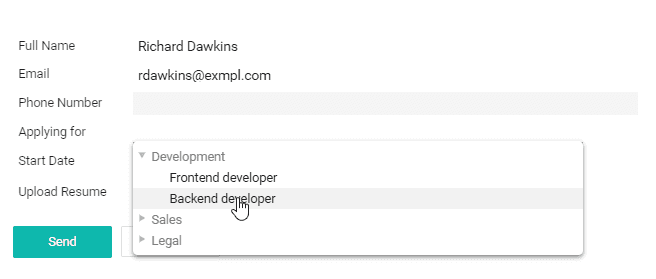
If you don’t want certain columns to appear in forms, drag them to Hidden. For example, job candidates don’t really need to see a company’s internal codes for the available positions on their application form:
This is what the catalog looks like in a form:
To restore the original layout of the columns, click on Reset.

Adding and removing columns
To edit columns in a multi-column catalog, change them in the source and then upload the updated source to Pyrus.
- If you linked the catalog and the source file in Pyrus Sync and have synchronization turned on, the catalog columns will update automatically when you modify the source.
- If you created the catalog by uploading an Excel file, you can update it at any time in the View tab. Click Import, choose the file with the modified columns, and upload it to the catalog.
Pyrus Tip: the total number of characters in a catalog item should not exceed 500.
Workflow columns
Use workflow columns to add employees and roles to a catalog.
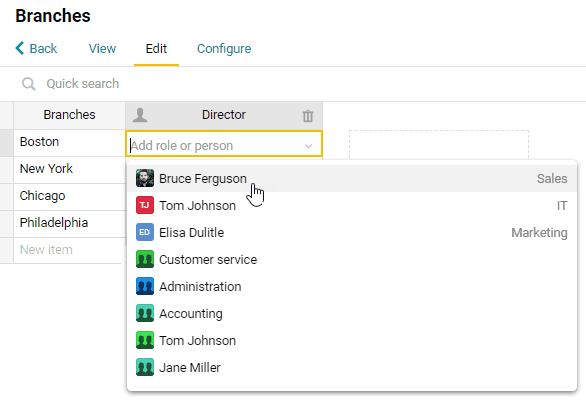
This is how you can make sure that the client’s requests are routed to the right branch, for example. Learn more about how to set it up in the Workflow editor article.
Deleting a catalog
To delete a catalog, open the Configure tab and press Delete catalog permanently.

This won't affect filled-out forms containing data from the deleted catalog, but you won’t be able to add items from this catalog to a new form.
Using a catalog in a form
Let’s look at a Helpdesk form as an example. We need to add a list of issues to it so that the client filling out the form can indicate what kind of problem he or she has, routing it to the appropriate department.
You can add a catalog to a form in the Template Editor. Open the form template, add a Catalog field, and find your catalog in the dropdown list.
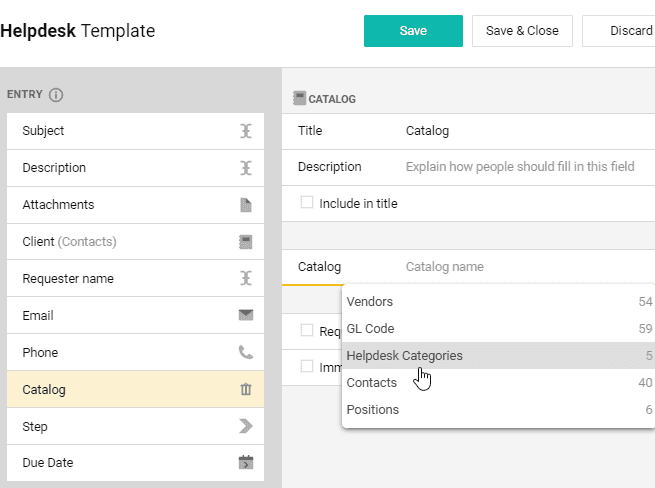
Save the template. Clients filling out a Helpdesk form can now specify their problem by selecting a helpdesk category, routing it to the appropriate specialist.
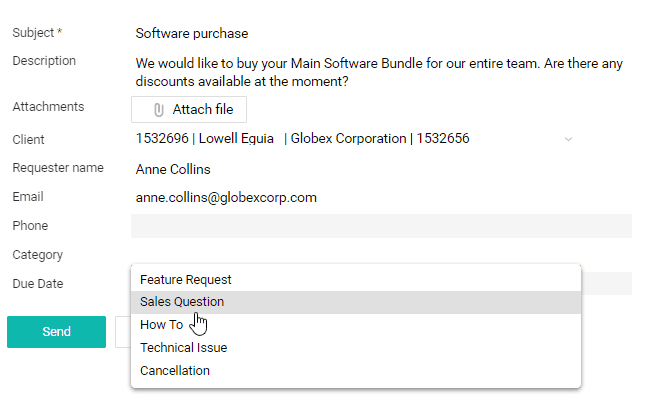
Pyrus Tip: start typing the name of the item you’re looking for and Pyrus will show you the matches. 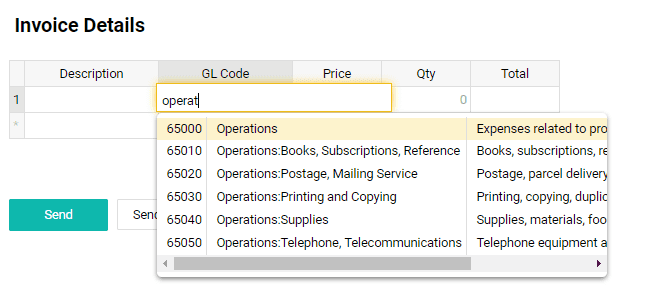
When you delete a Catalog field from a form template, the corresponding value remains in all forms that were filled out based on that template (deleted fields are located under all other fields) Any mentions of the field and its values will be visible in the form's history. You can see the history on the task page by selecting Actions / Show all updates in the top menu.
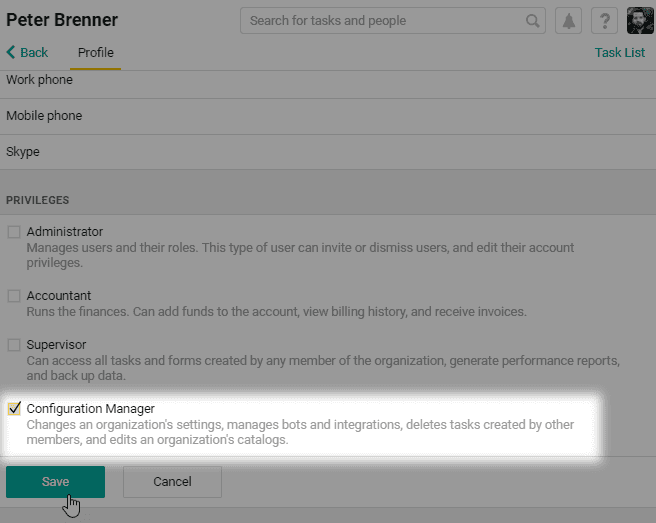
Catalog management rights
Who can create and modify catalogs?
Anyone with Configuration Manager rights can add, delete, and edit catalogs.