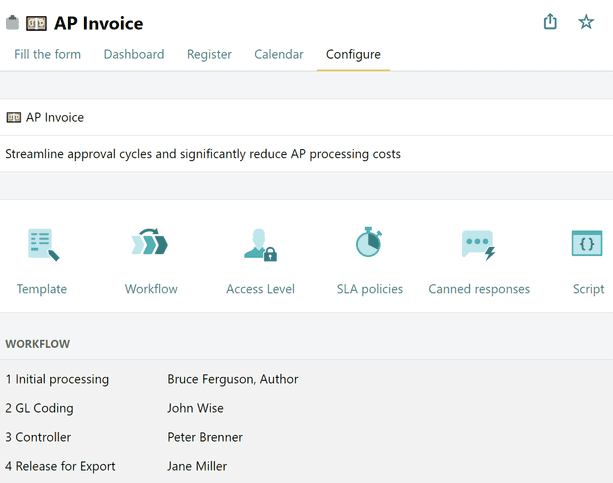
Form configurator
The form configuration page displays a workflow’s primary properties. Here you can change the workflow name and description, edit its administrators, change the form template, alter workflow routing, and set permissions. You can also add scripts to a form, which lets you make quick calculations, automatically fill in fields, and verify the data you enter.
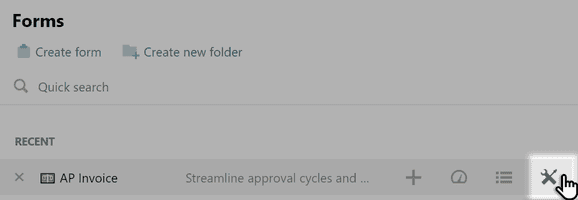
To open the configurator, find the workflow in the Forms list and click Configure icon.
Name and description
To change the workflow name and description, just edit the appropriate text fields and save your changes.
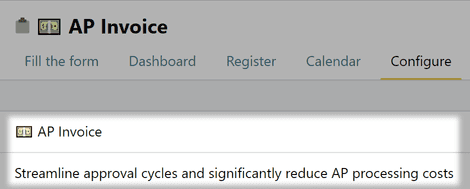
Pyrus Tip: We recommend that you fill in the description field. This makes it easier for your colleagues to find the form they’re looking for.
Note: forms can be conveniently organized into thematic folders, such as Company, Employees, Clients, and so on. Open the form Settings and click the Move to folder button at the bottom of the screen. In the window that opens, select the desired folder and click Apply.

Who has access to the form?
By default, a new form is only available to the person who created it. This means that only the form creator can fill it in. If you want other members of your organization to use the form, you can make it available to the entire organization or give out individual permissions.
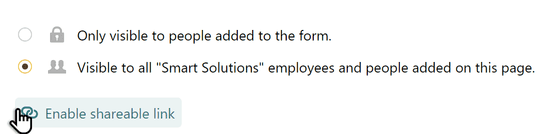
Click on Access level in a configure page.
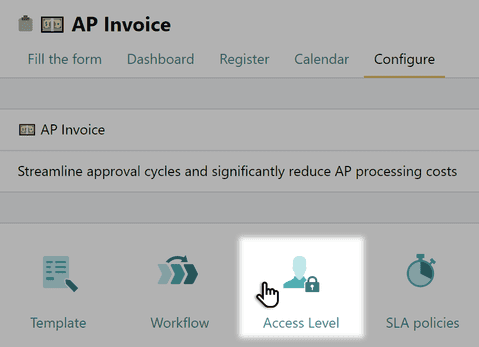
If you need all of your colleagues to be able to use the form, select the option Visible to all employees and people added on this page.
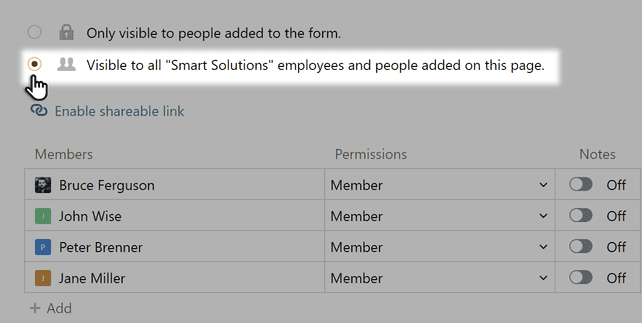
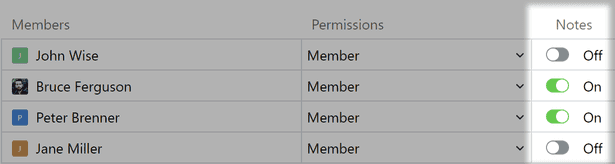
If you want to give access only to a selected number of people, leave the option Only visible to people added to the form, click +Add, and select these people in the Participant column. You can give them any of the available permission options. For more information, see the article Permissions editor.
Employees added to the workflow get access to the form automatically.
If you need to give form access to someone outside of Pyrus, like a business partner or contractor, create a shareable link and send it to them.
You can also enable Notes — the extension that allows you to make private comments in form tasks.
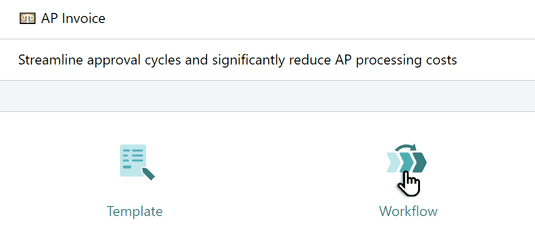
Form template and workflow
Click Template to add or delete fields, change the field names, or change their order. See Template Editor for more details about form template settings.
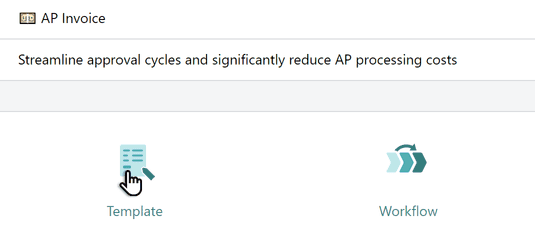
Click Workflow to add or delete new steps, to change business rules, or to otherwise alter the workflow. See Workflow Editor for more details about workflow setup.
Scripts
Use scripts to expand form functionality and spend less time and energy filling them out. Scripts let you automatically fill in and validate form fields, as well as access data from the register to avoid document duplication. For more information, see the article Scripts.
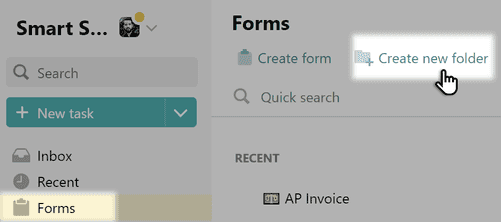
Folders
You can combine forms into folders in order to work with them more conveniently. For example, you can add Travel, Vacation, and Working hours forms to the Employees folder. Various client request forms can be added in the Customer Support folder.
Create a folder in the Forms section.
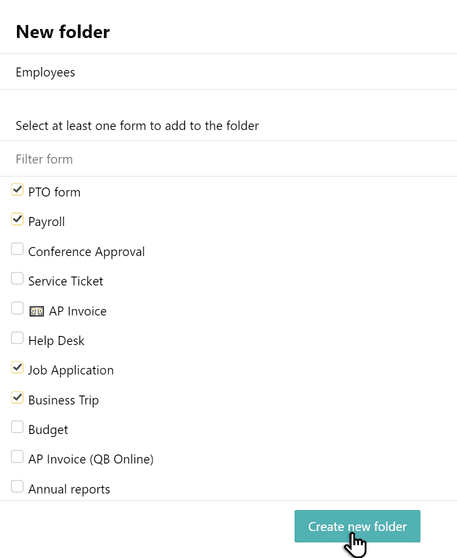
Give the new folder a name and choose the forms that you want to add to it.
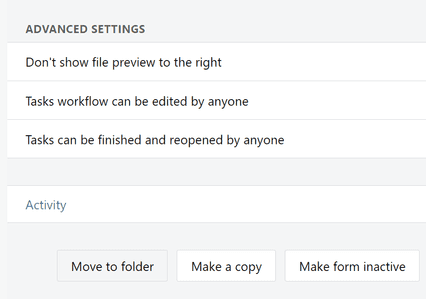
If you need to transfer a form to a folder, open the form and click Move to folder.
You can add subfolders to your folders in order to work more conveniently with forms. Move the cursor to the folder where you want to add a subfolder, and click the icon that appears on the right. Name the subfolder and select the forms that you want to put in it.

You can view the contents of folders in the "tree" form or in the "grid" form. Click the icon in the upper right corner of the screen to select view mode.
