Template editor
The Template Editor is a design environment that has everything you need to build custom forms for your specific workflows. It’s easy enough to use that you can do it by yourself, no coding or technical skills required.
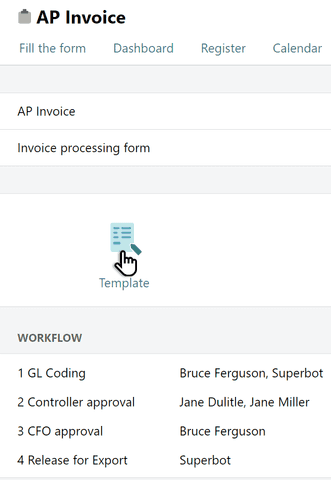
Click Edit template on the workflow page to access the Template.
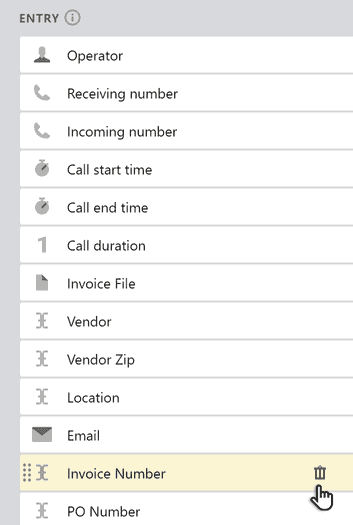
The editor window consists of three parts. The first column contains the fields that you may add to a template. The second column is a list of fields already constituting the form template. The third column shows selected field settings.
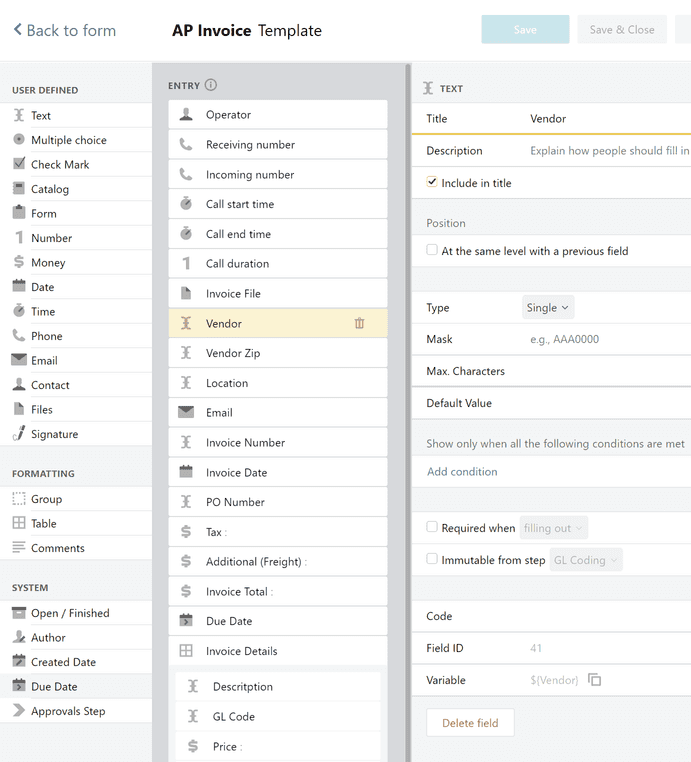
In this example, the Vendor field is selected and its properties are displayed. To change a property, enter a new value and save the template.
Adding and Removing Fields
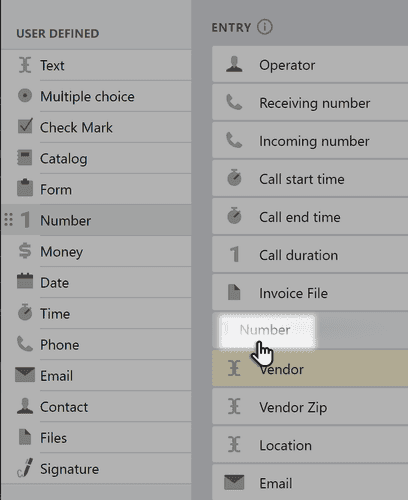
To add text, amounts, dates, drop-down lists or other elements to a form template, drag the appropriate field from the left-hand panel onto the template.
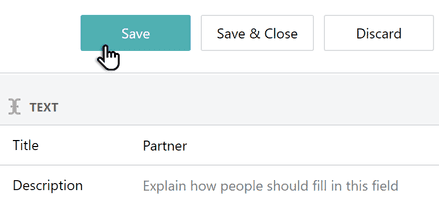
Click this new field. Its properties are displayed on the right. Adjust the validation, default value, formatting, and other settings as necessary and save the template.
To delete a field from a template, click the trashcan next to it's name and save the template.
Pyrus has user-defined and system-defined fields. The user-defined fields contain information that users will enter in a new form. The system fields are automatically calculated by Pyrus as the workflow progresses. See Form Field Types for more details.
Field Order and Visibility
The fields are arranged on the form in the same order as they are arranged on the template. To change the order, just drag a field to a new position and save the template.
All the fields you add to the template are displayed in the form, but sometimes you’ll need to hide fields from view. One way to do this it to put the fields you want hidden in the Processing section of the form template.
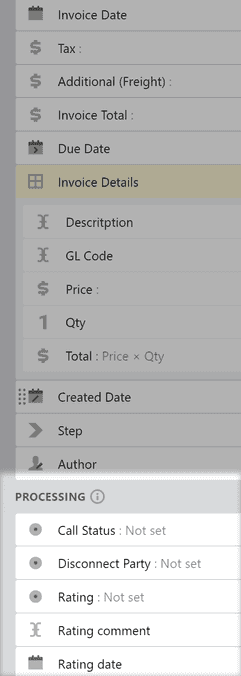
Let’s say your website contains an online form that visitors use to send help requests. Some of the fields are filled out by the requestor, like name, email address, and the issue at hand. Other fields are filled out by a help desk specialist, like designating the person responsible or identifying the type of the request. In the example above, we put these fields in Processing. They will not be seen to the person filling in the form, but will remain visible to the help desk specialist.
You can also hide fields by using Multiple choice and Checkmark.
Often, when filling out a form, different fields need to open depending on the option the user has selected. For example, when filling out a payment form you need the Bank account info field to open only if the user has chosen to have the money withdrawn directly from their bank account. Another example is when a payment is being coordinated, and the payment recipient might be an individual, or an organization: if the payment is going to an organization, you need the organization’s name, PSRN, CAT, and other details in the form; if the payment is meant for an individual, then you need their personal info.
Here’s how you set fields to open only under certain circumstances:
Open the Form Template Editor. Drag the field you need into the template, and drop it under the Multiple choice, or the Checkmark field.
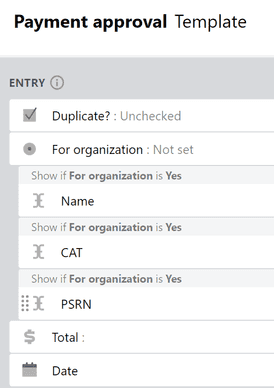
Important: the Multiple choice or Checkmark fields need to be placed above the rest.
On the right, in Settings, click Add a condition.
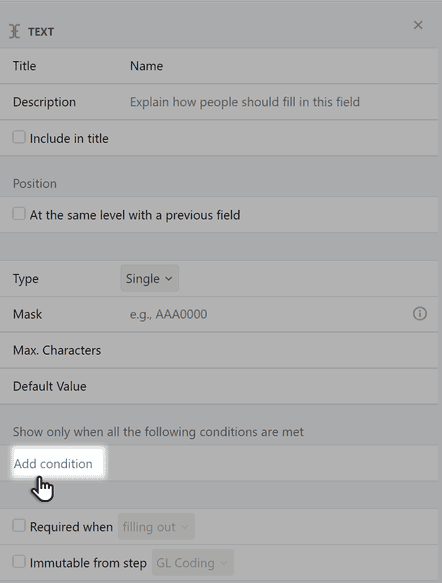
In the window that opens, enter the conditions for field visibility: for a field like Multiple choice, this will be is / is not; for a field like Checkmark it will be filled / empty.
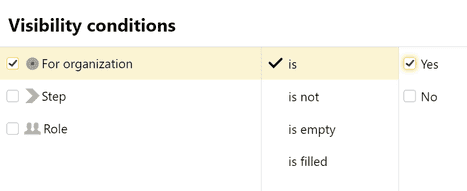
Now (to continue with our example from above), the fields Organization name, PSRN, and CAT will only be visible if the form is being filled out for payment to an organization. 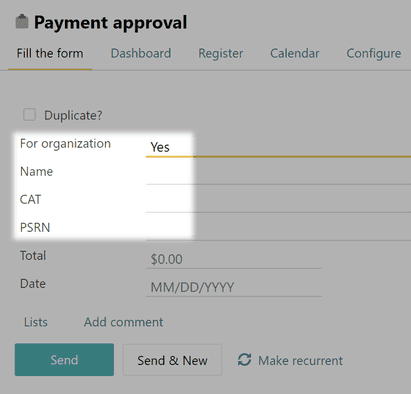
Access to field value only for specific employees and roles
In some business processes, you need to limit access to the values of certain fields to only specific employees and/or roles. For instance, those who need access to other employees’ financial, personal, and other sensitive information to perform their duties.
To do this, set up a list of employees and roles with special access in the form template. The values available to these employees/roles will not be available to anyone else.
Open the template editor, select the desired field, and specify the employees and roles in its settings block. You can limit access to text fields, and fields in tables.

Note: form admins can view and edit the values of all its fields, including fields with access limits established.
The following fields cannot be limited to only some employees/roles:
- system fields;
- Status type fields;
- Form type fields;
- formatting fields (Table and Group types);
- fields whose values are displayed in the task heading;
- fields that are required to be filled at creation, or an step.