
Timekeeping is an essential method of tracking and increasing a company's efficiency. In some organizations, employees do not have set salaries and instead are paid hourly and they need to understand how much time was spent on executing the tasks at hand. These time costs are how companies decide on monetary compensation when sending an invoice to a client. Losing several hours or adding false ones leads to direct losses.
Let’s think, what functionality in Pyrus can help with timekeeping? The first thing Pyrus can do is to keep time costs of each task. There is actually a special field for that:
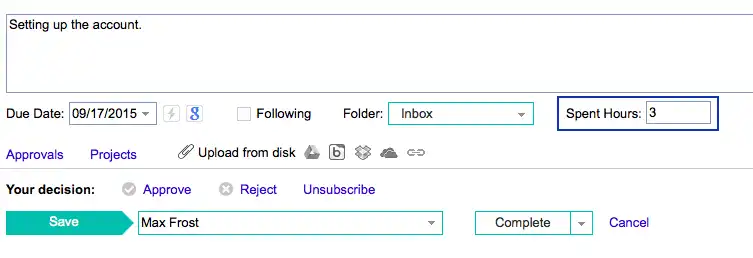
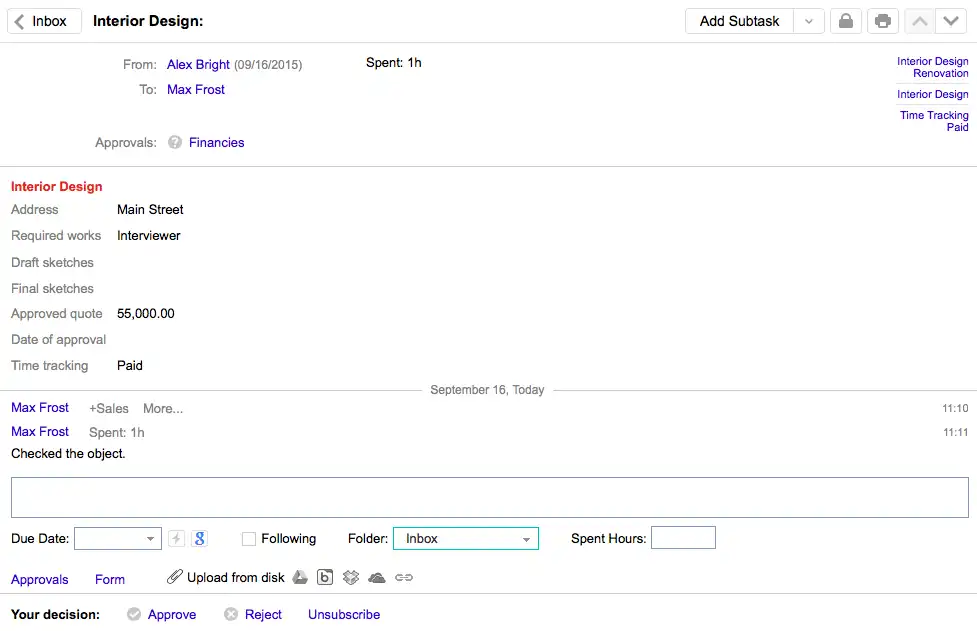
After saving a task, all time spent will be added to the tasks and will be shown at the right side of the task, before the execution deadline. If the task is created as part of the project, Spent Hours will be added to the project.
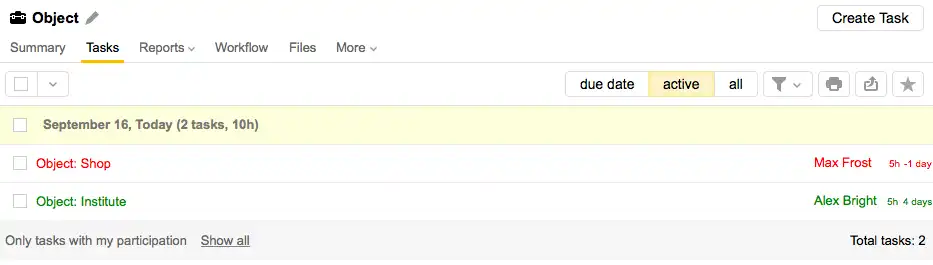
This way you can be aware of all the time spent by an employee, both at the level of the task, and the project. Sometimes issues arise, but that is not an issue, you can correct the process in case the time limit needs to be extended.
Adding a task to the project gives you one more opportunity: to get unified reports on time spent over a longer period of time. These reports can be represented in two ways. Grouping by tasks:
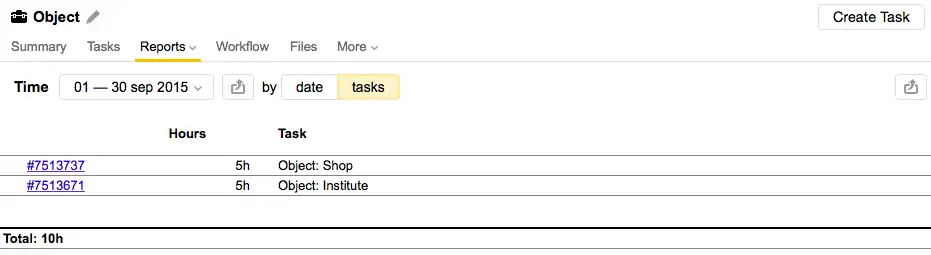
The view above helps to find out which tasks took the most time and allows you to adjust for similar tasks in the future. The second option includes grouping by dates:
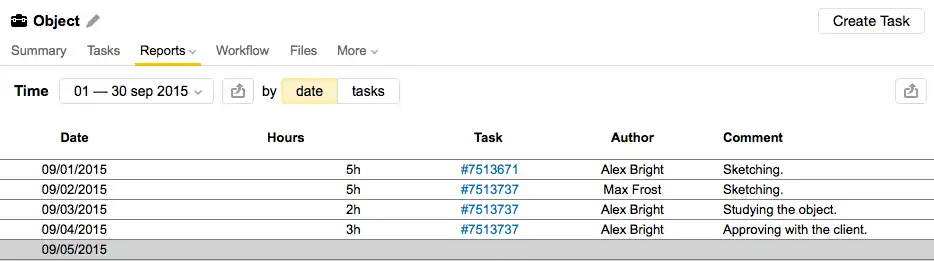
This option allows to see which dates had the most activities and what employees took part. Such a report can be exported to Excel so you can get a list of tasks by employees to form invoices for monthly payments.
To create a combined invoice for the entire company it can be useful to create a separate project called “Time Tracking” and add all tasks with paid time to it. If you want to keep time tracking for the forms, as well, you need to create a sub-project “Paid” to the main project “Time Tracking”.
After that, create a list field in the form and select the existing list item, “Time Tracking”:
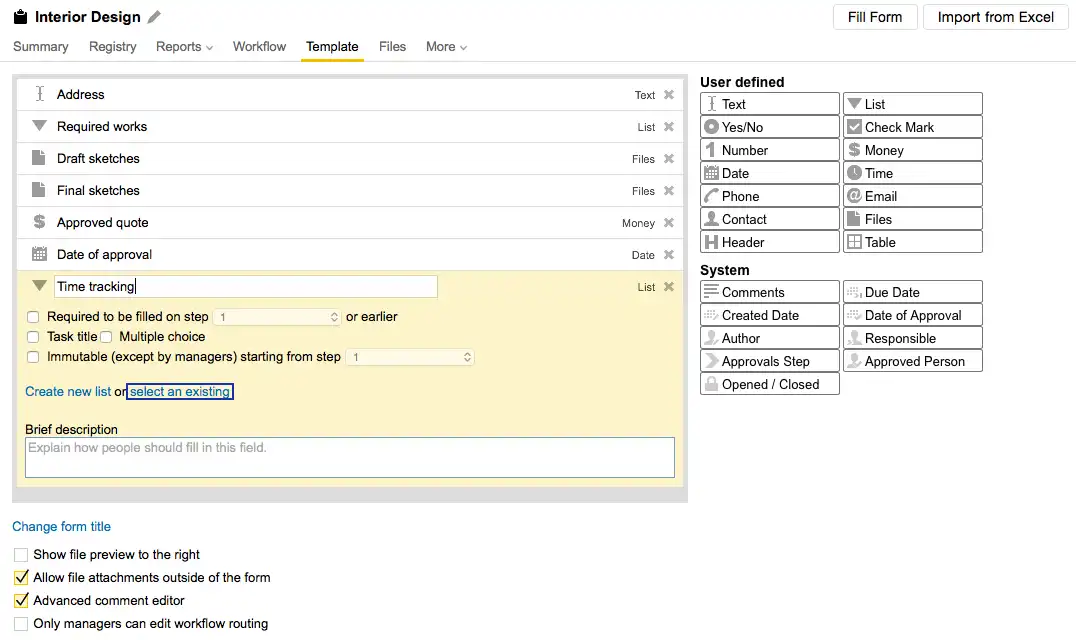
The forms, which will now have ‘Paid’ value in the list, will be added as tasks to the project “Time Tracking / Paid” and all time spent on them will be shown in the report for that project.
Use these tips above to set up similar forms for your business and while you're at it, check out some of the other quality metrics of your business processes by using the service level report!