Articles
Creating a new article
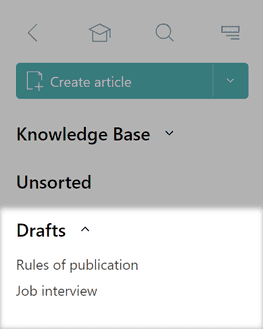
To publish a new article, click Create an article in the menu on the left of the Knowledge base.

A text editing page will open. You can copy and paste a ready text created in any text editor, or you can type and format your text right here.

Above the text entry field, there is a panel with formatting tools. Set a heading, format the text the way you need it, and add images.
Text tools available to you:
- bold and italic;
- three levels of headings;
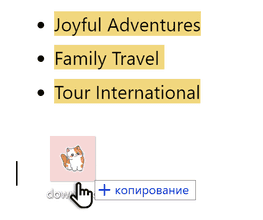
- simple and nested bullet lists;
- simple and nested numbered lists;
- strikethrough text;
- weblinks built into the text;
- choice of background color;
- formatting of quotations and blocks of program code.
- embedded tables;
- embedded videos from outside servers.

To add an image to an article, just drag the file from your computer to the desired place in the article, or by clicking the paperclip icon on the formatting panel.
Collaborating on an article
When editing, all changes are saved automatically. The article remains in the Drafts section until it is published.
If you need to discuss an article that hasn’t been published yet with a colleague, or edit it together, just copy the article url and send it to your collaborator.

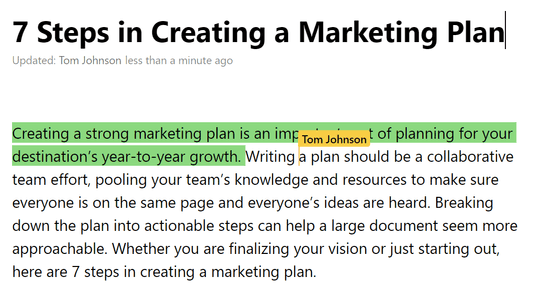
In the process of editing, you’ll see all the changes your colleague makes in real time.
Pyrus Tip: to make changes in an already existing document, open it in the upper-right corner and click Editing.
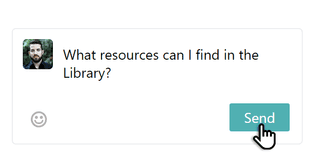
To add a comment to the text, highlight the desired fragment and click Comment.
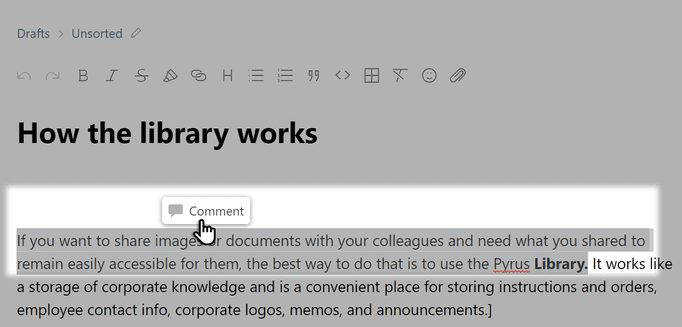
Type your comment and hit Send.
If you are ready to share the article with all your co-workers, hit Publish in the upper-right corner of the screen.
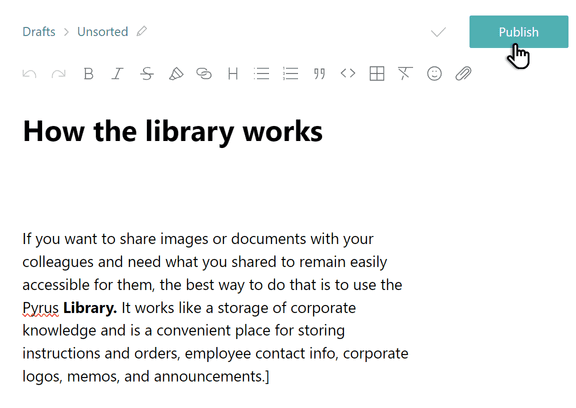
By default, published articles first go into the Unsorted folder.

Note: as in a file system, an article can only be in one folder in the Knowledge base.
You can move the article from the Unsorted folder into any existing one, or create a new topic for it.